Create a Workflow
To create a workflow, use the Workflow Editor to drag objects such as activities, logic components, and other workflows from the Activities panel to the canvas and then configure the properties for each of the objects.
When building your workflow, follow the guidelines described in the Workflow Best Practices Help topic.
View the Cisco XDR Automation: Building a Workflow video for more information.
-
Identify any objects in the Activities panel that you plan to include in your workflow.
-
Configure any Targets that your workflow will communicate with. See the Targets Help topic for more information.
-
Choose Automate > Workflows in the navigation menu.
-
On the All Workflows tab, click Create Workflow.
-
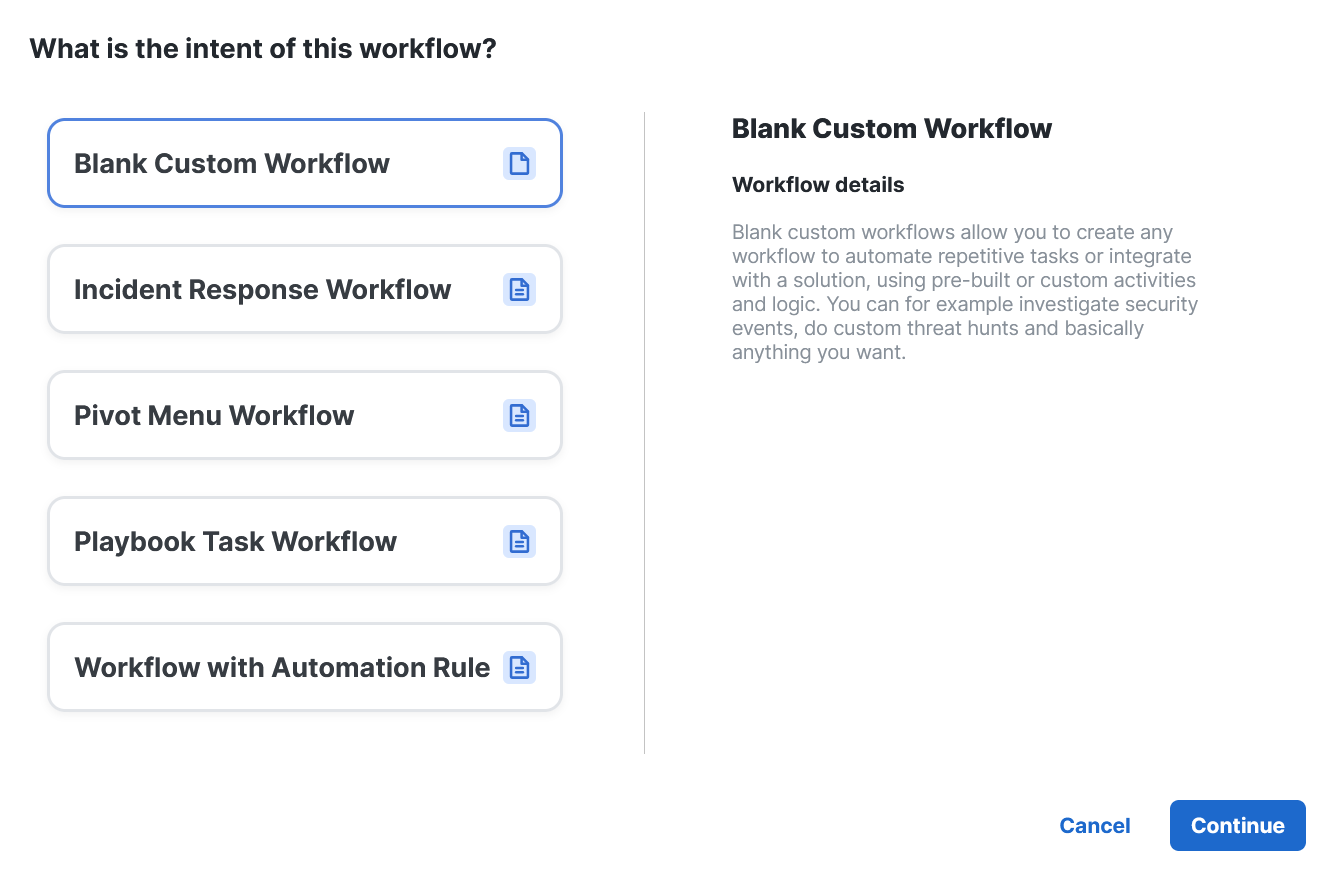
Choose a type according to the intent of this workflow, and click Continue. For more information, see the Workflow Intent Help topic.
-
In the Properties panel of the Workflow Editor, define the workflow properties. For more information, see the Workflow Editor Help topic.
-
From the Activities panel, drag and drop activities, logic, or other workflows onto the canvas. For more information, see the Workflow Activities Help Topic.
-
Select each object in the workflow and define its properties in the Properties panel. The exact properties necessary will vary among workflow objects.
For example, you can click the
 (Variable Reference) icon to use the variable browser to explore all of the variables available while building a workflow.
 The variable browser is hierarchical, and variables are only available within the scope in which they are defined. For more information, see the Variables Help topic.
-
When you have completed constructing the workflow, click Validate to verify that the workflow is valid.
If you have invalid activities, they will be displayed with an orange bar, and a warning will be displayed in the upper right corner of the Properties panel.
Resolve any issues and validate the workflow again. For an end-to-end example of creating a workflow, see the Building a Workflow video.
See more about the Page Header Functions in the Workflow Editor topic.
After the workflow has been created and successfully validated:
-
To execute the workflow, click Run. You can then view the status of the workflow from the Runs page.
-
To edit the workflow after the run completes, click Modify to open the workflow for editing.
-
To export the workflow to your Git repository, click Share > Commit To Git. For more information, see the Import and Export a Workflow Help topic.
-
To request that the workflow be published to Exchange, click Share > Submit to Exchange. For more information, see the Publish to Exchange Help topic.


