Users
Note: Only users with an Administrator role can manage users.
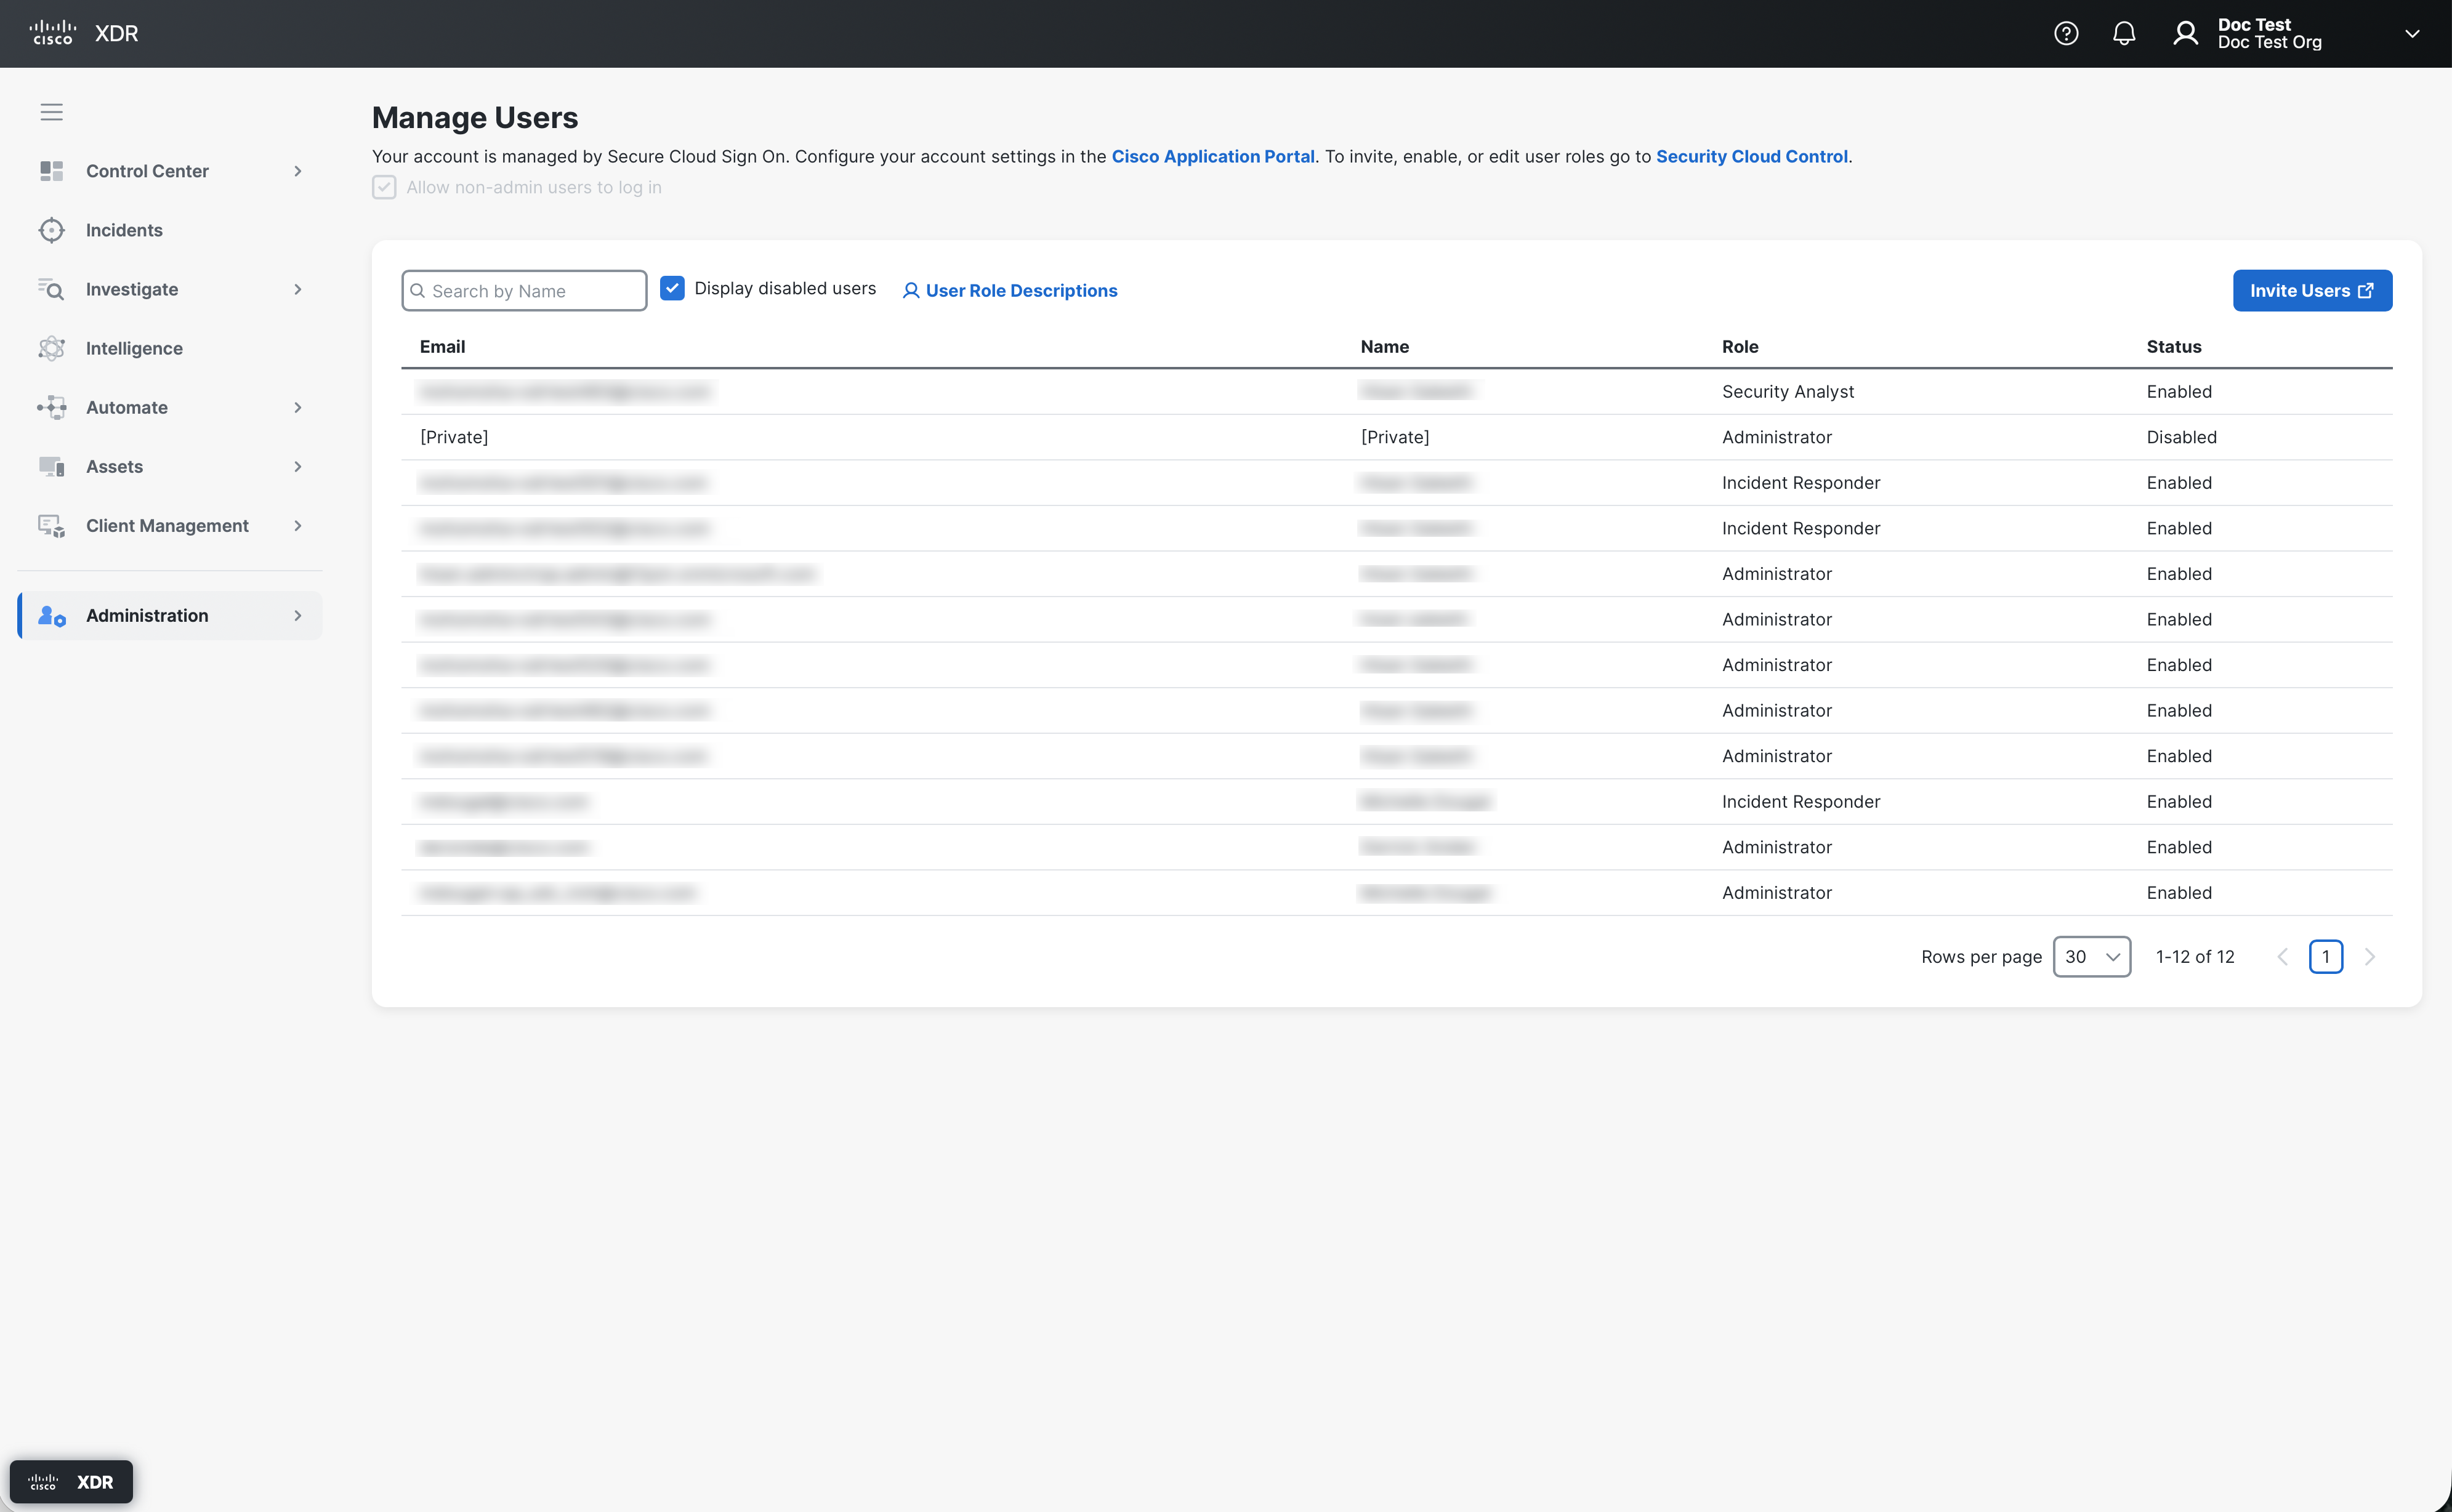
Use the Manage Users page to manage the users in your Cisco XDR organization. From this page, you can enable and disable the Allow non-admin users feature, view the user’s email address and name, search for users, and manage their role and status. You can also invite users to join your Cisco XDR organization and manage invitations.
Check the Allow non-admin users to log in check box to use the logged in user’s credentials and identity when interacting with Secure Endpoint APIs. We recommend that you enable this feature if your organization is entitled to Secure Endpoint.
To enable the feature in the Secure Endpoint integration, edit the integration and check the Act in the name of Active User check box in the Edit Integration area. For details on editing an integration, see Integrations.
Use the Confirmed Users tab to view all of the users in your organization, search for users, and invite users. From this page, you can invite users, search for users, change the user role, disable or enable an account, and filter the list of users by including or excluding disabled user accounts.
By default, all the users within the current organization are displayed in the list of confirmed users. You can search, filter, and sort the confirmed users to display only those users you want to view.
Search Users
Enter the search criteria in the Search field on the Confirmed Users tab to search for users by email and name. The users that match your search criteria are displayed in the list of confirmed users.
Filter Users
Check or uncheck the Include Disabled Users check box to filter the list of Confirmed Users to include or exclude disabled user accounts. The disabled user account emails and names are displayed as [Private].
Sort Users
Click the (Sort) icon in the column headers in the Confirmed Users table to sort the users alphabetically.
You can invite users to join your organization via Cisco XDR if you are logged in with a Security Cloud Sign On account as an Administrator user. For details, see the Cisco Security Cloud Sign On Quick Start Guide.
-
Choose Administration > Users in the navigation menu and click Invite User on the Confirmed Users page.
-
In the Invite New Users dialog box, choose the role you want to assign the current user from the User Role drop-down list. For information on the roles and its supported tasks, see Roles.
-
In the Email field, enter the email address for the person you want to invite to your organization.
-
Click Add.
-
Repeat Step 2 through Step 4 to add additional users to the invitation.
-
Once you have completed adding users to the invite list, click Send Invites.
The user will receive an email notifying them that they have been invited to join your organization. They should follow the instructions in the email to log in to Cisco XDR.
To change the role of an existing user, click the assigned role in the Role column for the user on the Confirmed Users page and choose a new role from the drop-down list. If the user with the changed role is logged in, a popup notifying the user of the change is displayed. The user must click Refresh to refresh the current session and apply the new role.
Click the User Role Descriptions link to view more information about each role you can assign users. For more information about the supported tasks for each role, see Roles.
To change the status of an existing user, click the status in the Status column for the user and choose Enabled or Disabled from the drop-down list.
Use the Invited Users page to view the status of the invitations (Accepted or Pending) that have been sent and to resend or cancel invitations to those recipients with a Pending status.
You can sort the user records by clicking any of the column headings.
To resend invitations to users with a Pending status:
- Choose Administration > Users in the navigation menu and click the Invited Users tab in the Manager Users area.
- Check the check box next to the user’s email address, or check the check box at the top to select all users who have not responded.
- Click Resend Invites. A success message is displayed in the lower right corner.
Alternatively, click Pending in the Invitation Status column for the user and choose Resend Invite from the drop-down list.
To cancel invitations to users with a Pending status:
-
Choose Administration > Users in the navigation menu and click the Invited Users tab in the Manager Users area.
-
Click Pending in the Invitation Status column for the user and choose Cancel Invite from the drop-down list. The user is removed from the Invited Users list.